Pumpkin Stem Drawing
Pumpkin Stem Drawing - By drawing curved lines, you can easily draw the stem. Finish the drawing by adding the pumpkin stem. Draw a smooth rounded line from the bottom of the pumpkin to the stem. Web sprinkle green glitter on the pumpkin stem and shade the rest of the pumpkin in hues of orange and yellow. In this case the pumpkin itself and the stem. Draw two curved lines to make the firs rib of your. Use sunflower yellow a016 to color the entire pumpkin except for the eyes, nose and mouth. Begin the pumpkin drawing by first getting it’s major shapes. Step 2 connect the end points on top and bottom by drawing 3 arches between the end points (3 on top and 3 on the bottom). Web draw the pumpkin’s stem shade the first two sections of the pumpkin shade the next section shade the middle of the pumpkin add shading to the stem and another section finish shading the pumpkin draw the cast shadow and the stump add details to the stump tutorial recap tips to remember the next time you draw a. By drawing curved lines, you can easily draw the stem. We then build on these shapes, adding more realistic curves and details. In this case the pumpkin itself and the stem. This ain’t just about the steps. You now have one oval and 4 curved lines. Web instructions draw an oval shape. Smudge the leaf and stem to smooth out the color. We then build on these shapes, adding more realistic curves and details. Gently smudge the brown outlines so they blend with the orange. Now, create the backside of the pumpkin using small curved lines. To do this, begin by drawing a curved line towards the top of your pumpkin. They’re a universal symbol of autumn and represent transformation and harvest. The great news is that those that find the bumpy step tricky, can simply skip it and go to the tracing and color. Add stripes on the pumpkin. Web step 5 next, you will. They’re a universal symbol of autumn and represent transformation and harvest. To do this, begin by drawing a curved line towards the top of your pumpkin. Step 6 now, you will add a bumpy little wave behind the stem to form the back of the pumpkin. You now have one oval and 4 curved lines. The stem can be rectangular,. Don’t press too hard on the pencil. Draw a smooth rounded line from the bottom of the pumpkin to the stem. Web draw the pumpkin’s stem shade the first two sections of the pumpkin shade the next section shade the middle of the pumpkin add shading to the stem and another section finish shading the pumpkin draw the cast shadow. You’ll be refining the details a little later in the process. Web repeat until all the pumpkin sections are blended. Don’t press too hard on the pencil. Web 321k views 1 year ago. At the top of the oval, add the small stem. Begin the drawing by outlining the general shape of the pumpkin. How to draw pumpkin in easy steps for beginners lesson.tutorial of drawing technique.drawing tutorial,art tutorial youtube videoyou can watch the video at. Web drawing on a pumpkin is pretty easy, as long as you have the right markers or paint and a bit of patience. Don’t press too hard. Web draw the pumpkin’s stem shade the first two sections of the pumpkin shade the next section shade the middle of the pumpkin add shading to the stem and another section finish shading the pumpkin draw the cast shadow and the stump add details to the stump tutorial recap tips to remember the next time you draw a. By drawing. But wait, let’s not get ahead of ourselves. Web 321k views 1 year ago. Use camel brown a110 to color the stem and leave some small areas blank so we can use them later to make the stem look dried. Web repeat until all the pumpkin sections are blended. Draw scary pumpkin faces, like a jack o lantern expression, for. Stick green pipe cleaners as stems on your drawing. The great news is that those that find the bumpy step tricky, can simply skip it and go to the tracing and color. Web how to draw a pumpkin step by step. Start by drawing the overall shape of your pumpkin with a two curved lines. And then draw your stem. Start small at the top and make it bigger as you go down. The stem can be rectangular, oblong, or any shape in between. You now have one oval and 4 curved lines. Draw a small pumpkin in the sides of the bigger pumpkin and complete the whole pumpkin sketch fast. Step 3 take a look at the middle arch on top and on the bottom. Web on the top side of the pumpkin, you have to draw a stem. Only by drawing four curved lines, you will be able to draw the backs. Determine what size your drawing will be and draw an even oval. Each of these ten projects is unique and caters to different types of artists. Step 6 now, you will add a bumpy little wave behind the stem to form the back of the pumpkin. Web pumpkins ain’t just for halloween, though they sure shine then. They’re a universal symbol of autumn and represent transformation and harvest. Step 2 connect the end points on top and bottom by drawing 3 arches between the end points (3 on top and 3 on the bottom). Fill in the leaf and stem shapes with a green pastel. Web repeat until all the pumpkin sections are blended. Add the stem, to do this,.
Fall drawings, Vegetable drawing, Drawings
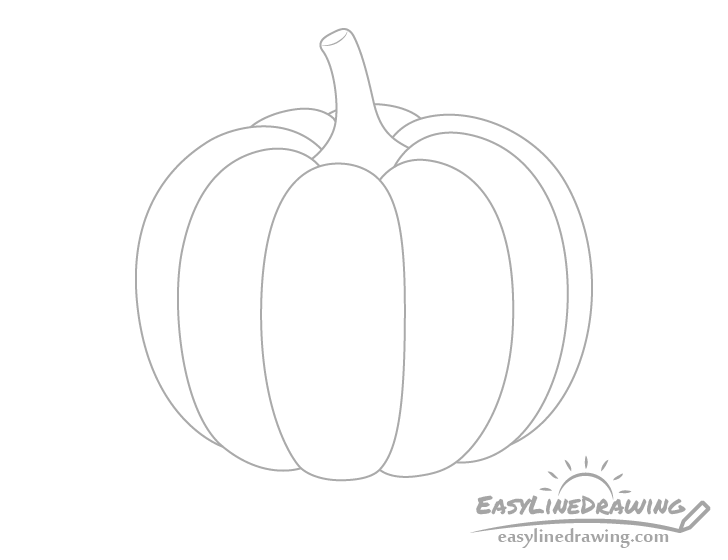
How to Draw a Pumpkin Step by Step EasyLineDrawing
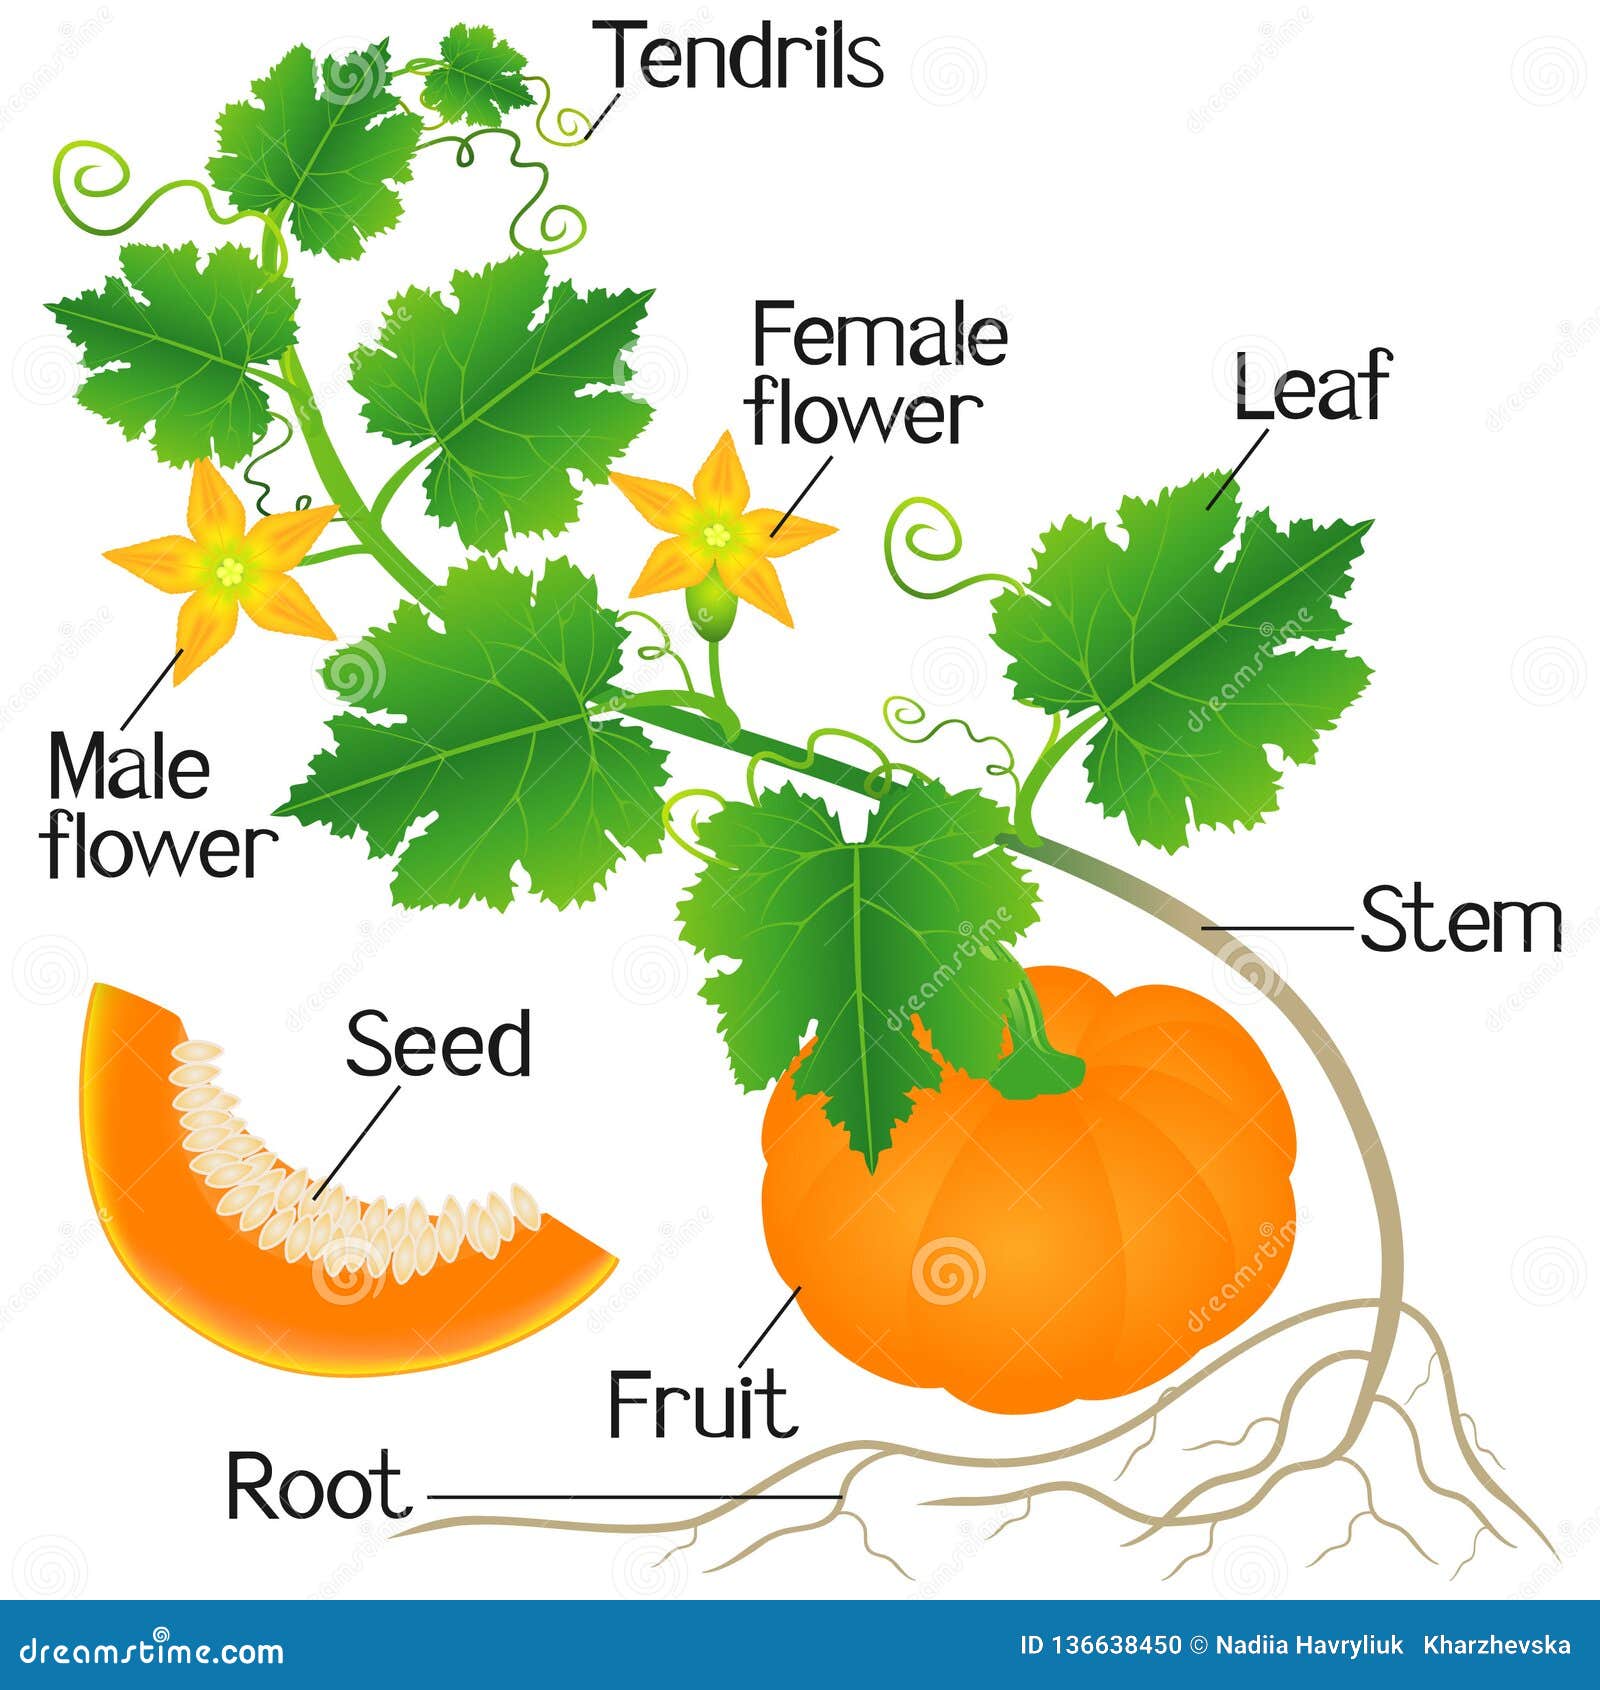
An Illustration Showing Parts of a Pumpkin Plant. Stock Vector

Drawings & Paintings by Jonathan Aller "Pumpkin Stem"

How to Draw a Pumpkin Easy Step by Step Art by Ro
![]()
Cute Pumpkin with Green Stem in Doodle Style Stock Vector

How to draw a pumpkin Step by step Drawing tutorials
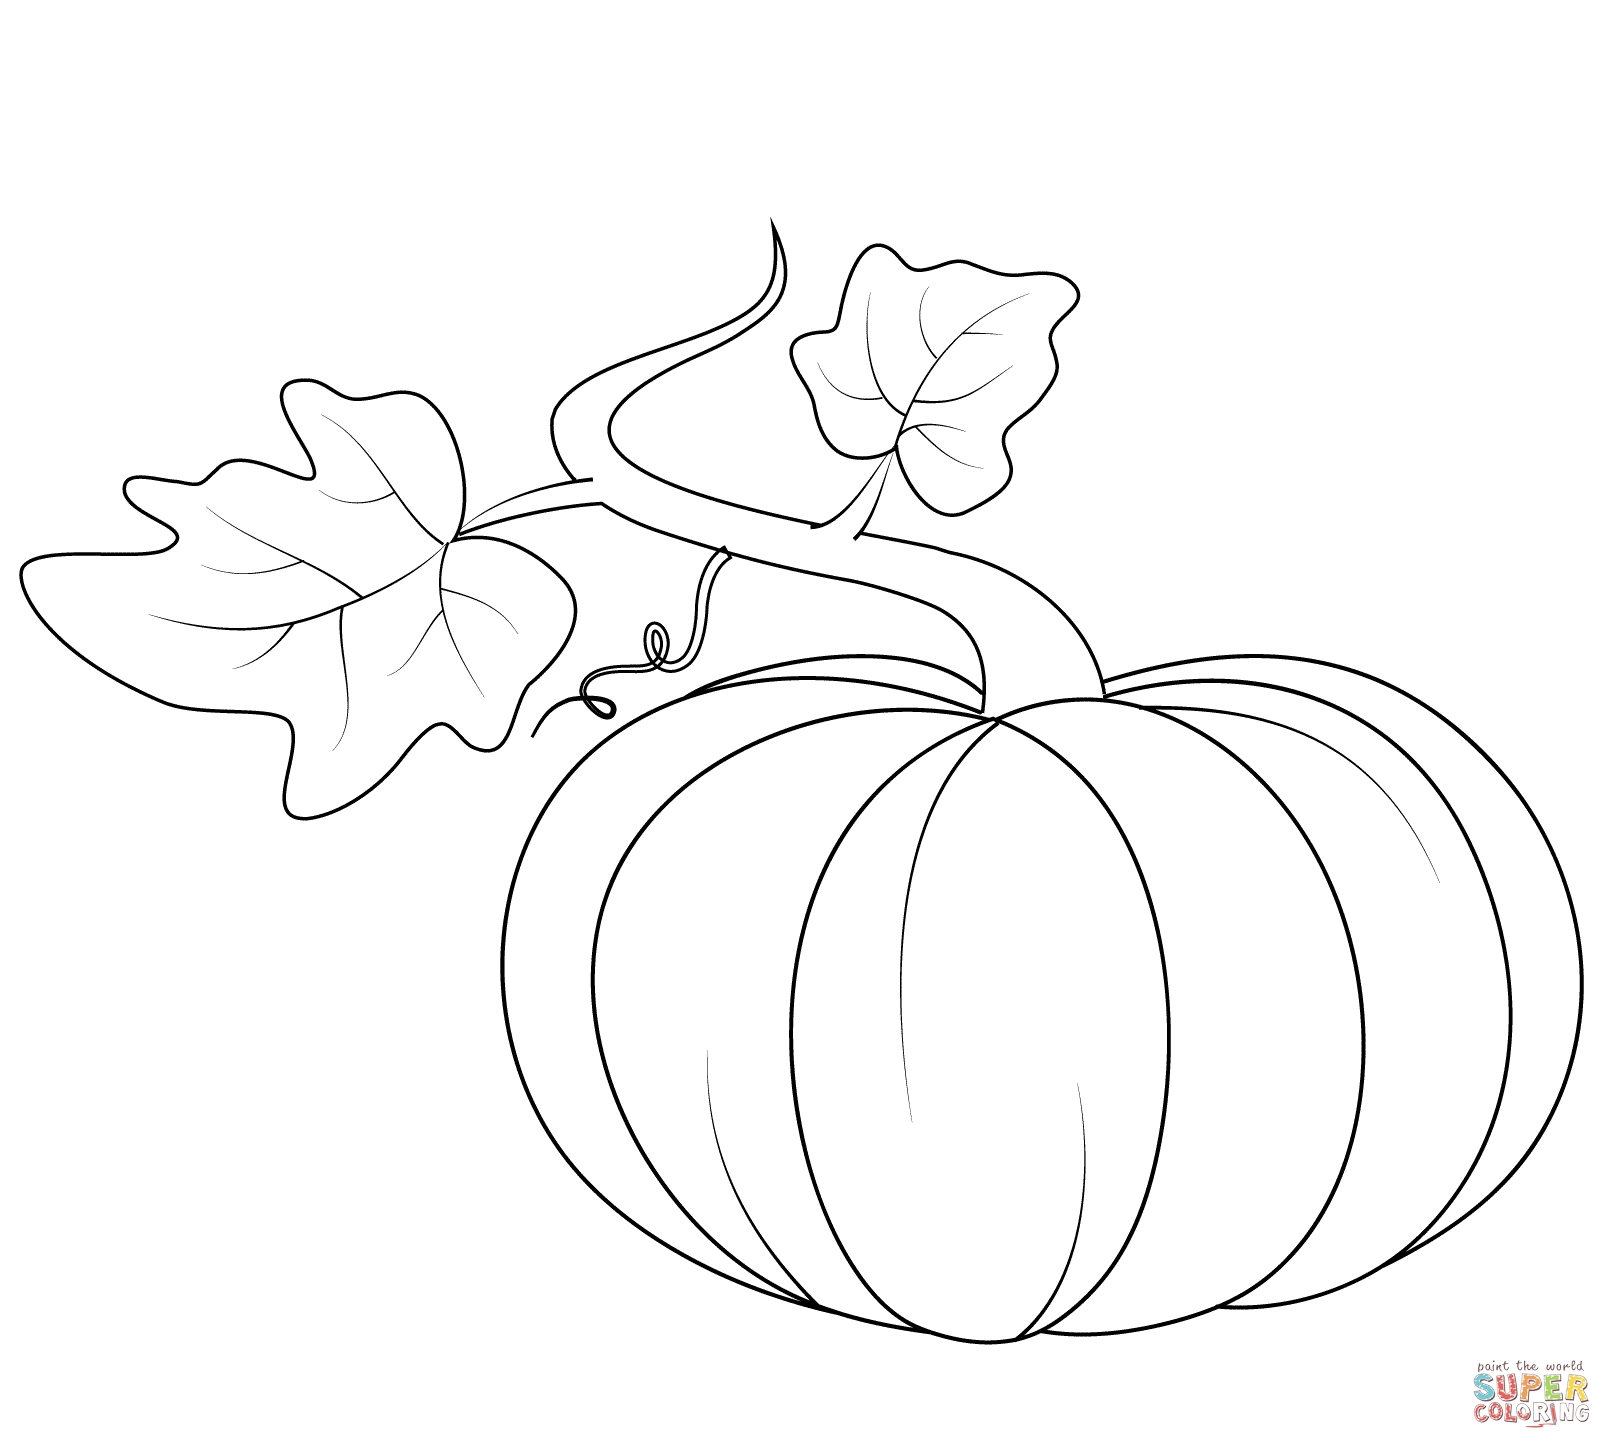
Pumpkin Vines Coloring Pages

EASY How to Draw a Cute Pumpkin Tutorial for Halloween/Fall
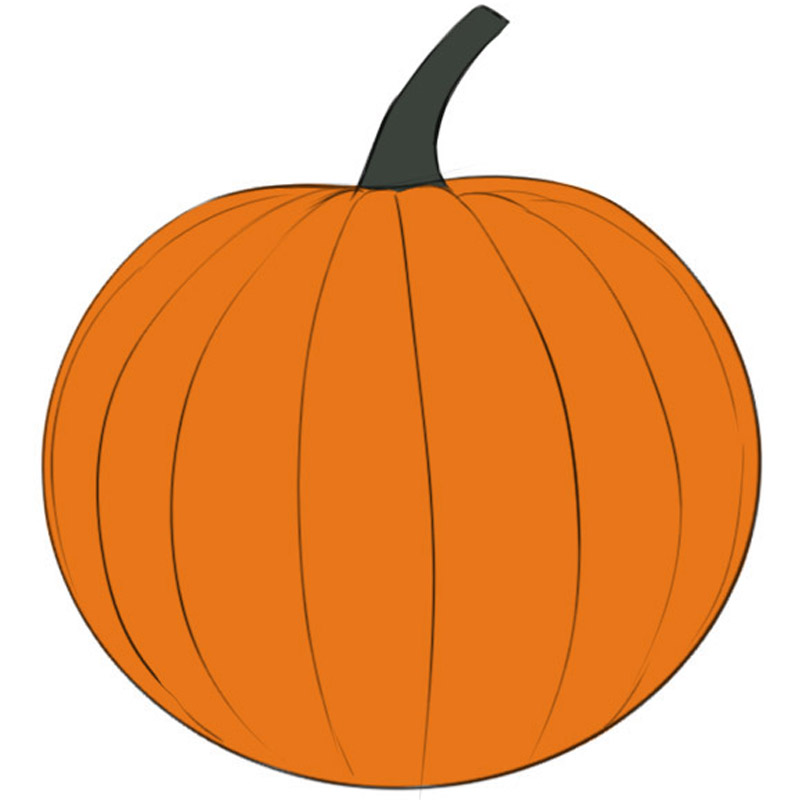
How to Draw a Pumpkin Easy Drawing Art
Markers Are Fun For Kids To Use And Make For A Vibrant Finish.
Smudge The Leaf And Stem To Smooth Out The Color.
Web Color The Base Tone For The Pumpkin.
The Great News Is That Those That Find The Bumpy Step Tricky, Can Simply Skip It And Go To The Tracing And Color.
Related Post: